• Skip to primary navigation
  • Skip to main content
  • Skip to primary sidebar
  • Skip to footer

Charlotte Pike

Food & Drink Expert

  • About
  • Writing
  • Consulting
  • Speaking
  • Contact

Baking

Homemade sausage rolls

12 November 2017 By Charlotte Pike

88454C0B-ED70-4E11-825A-5B51FF9DB5BF

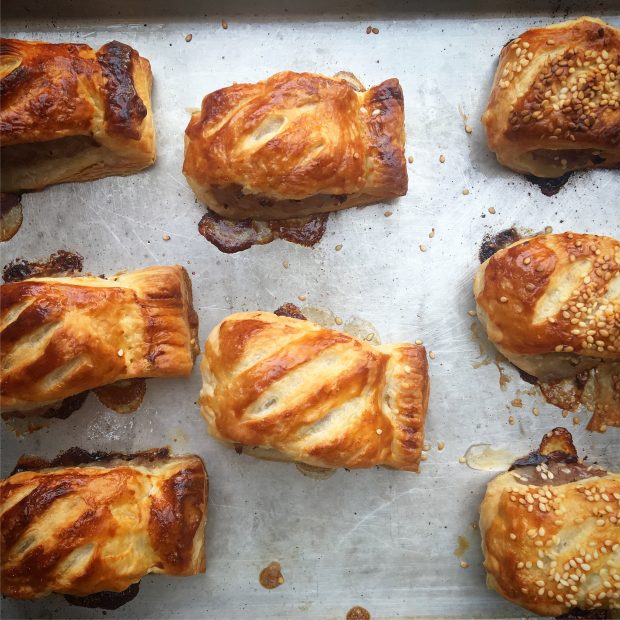
This is a very flexible recipe. Good quality sausage meat makes an excellent filling, and it is pre-seasoned, too. You can add extra flavours to the meat if you wish, such as dried chopped fruit, maybe apricots, or fresh herbs, such as sage. Try a sprinkling of sesame seeds on top of the pastry for an extra layer of flavour. I often do half and half.

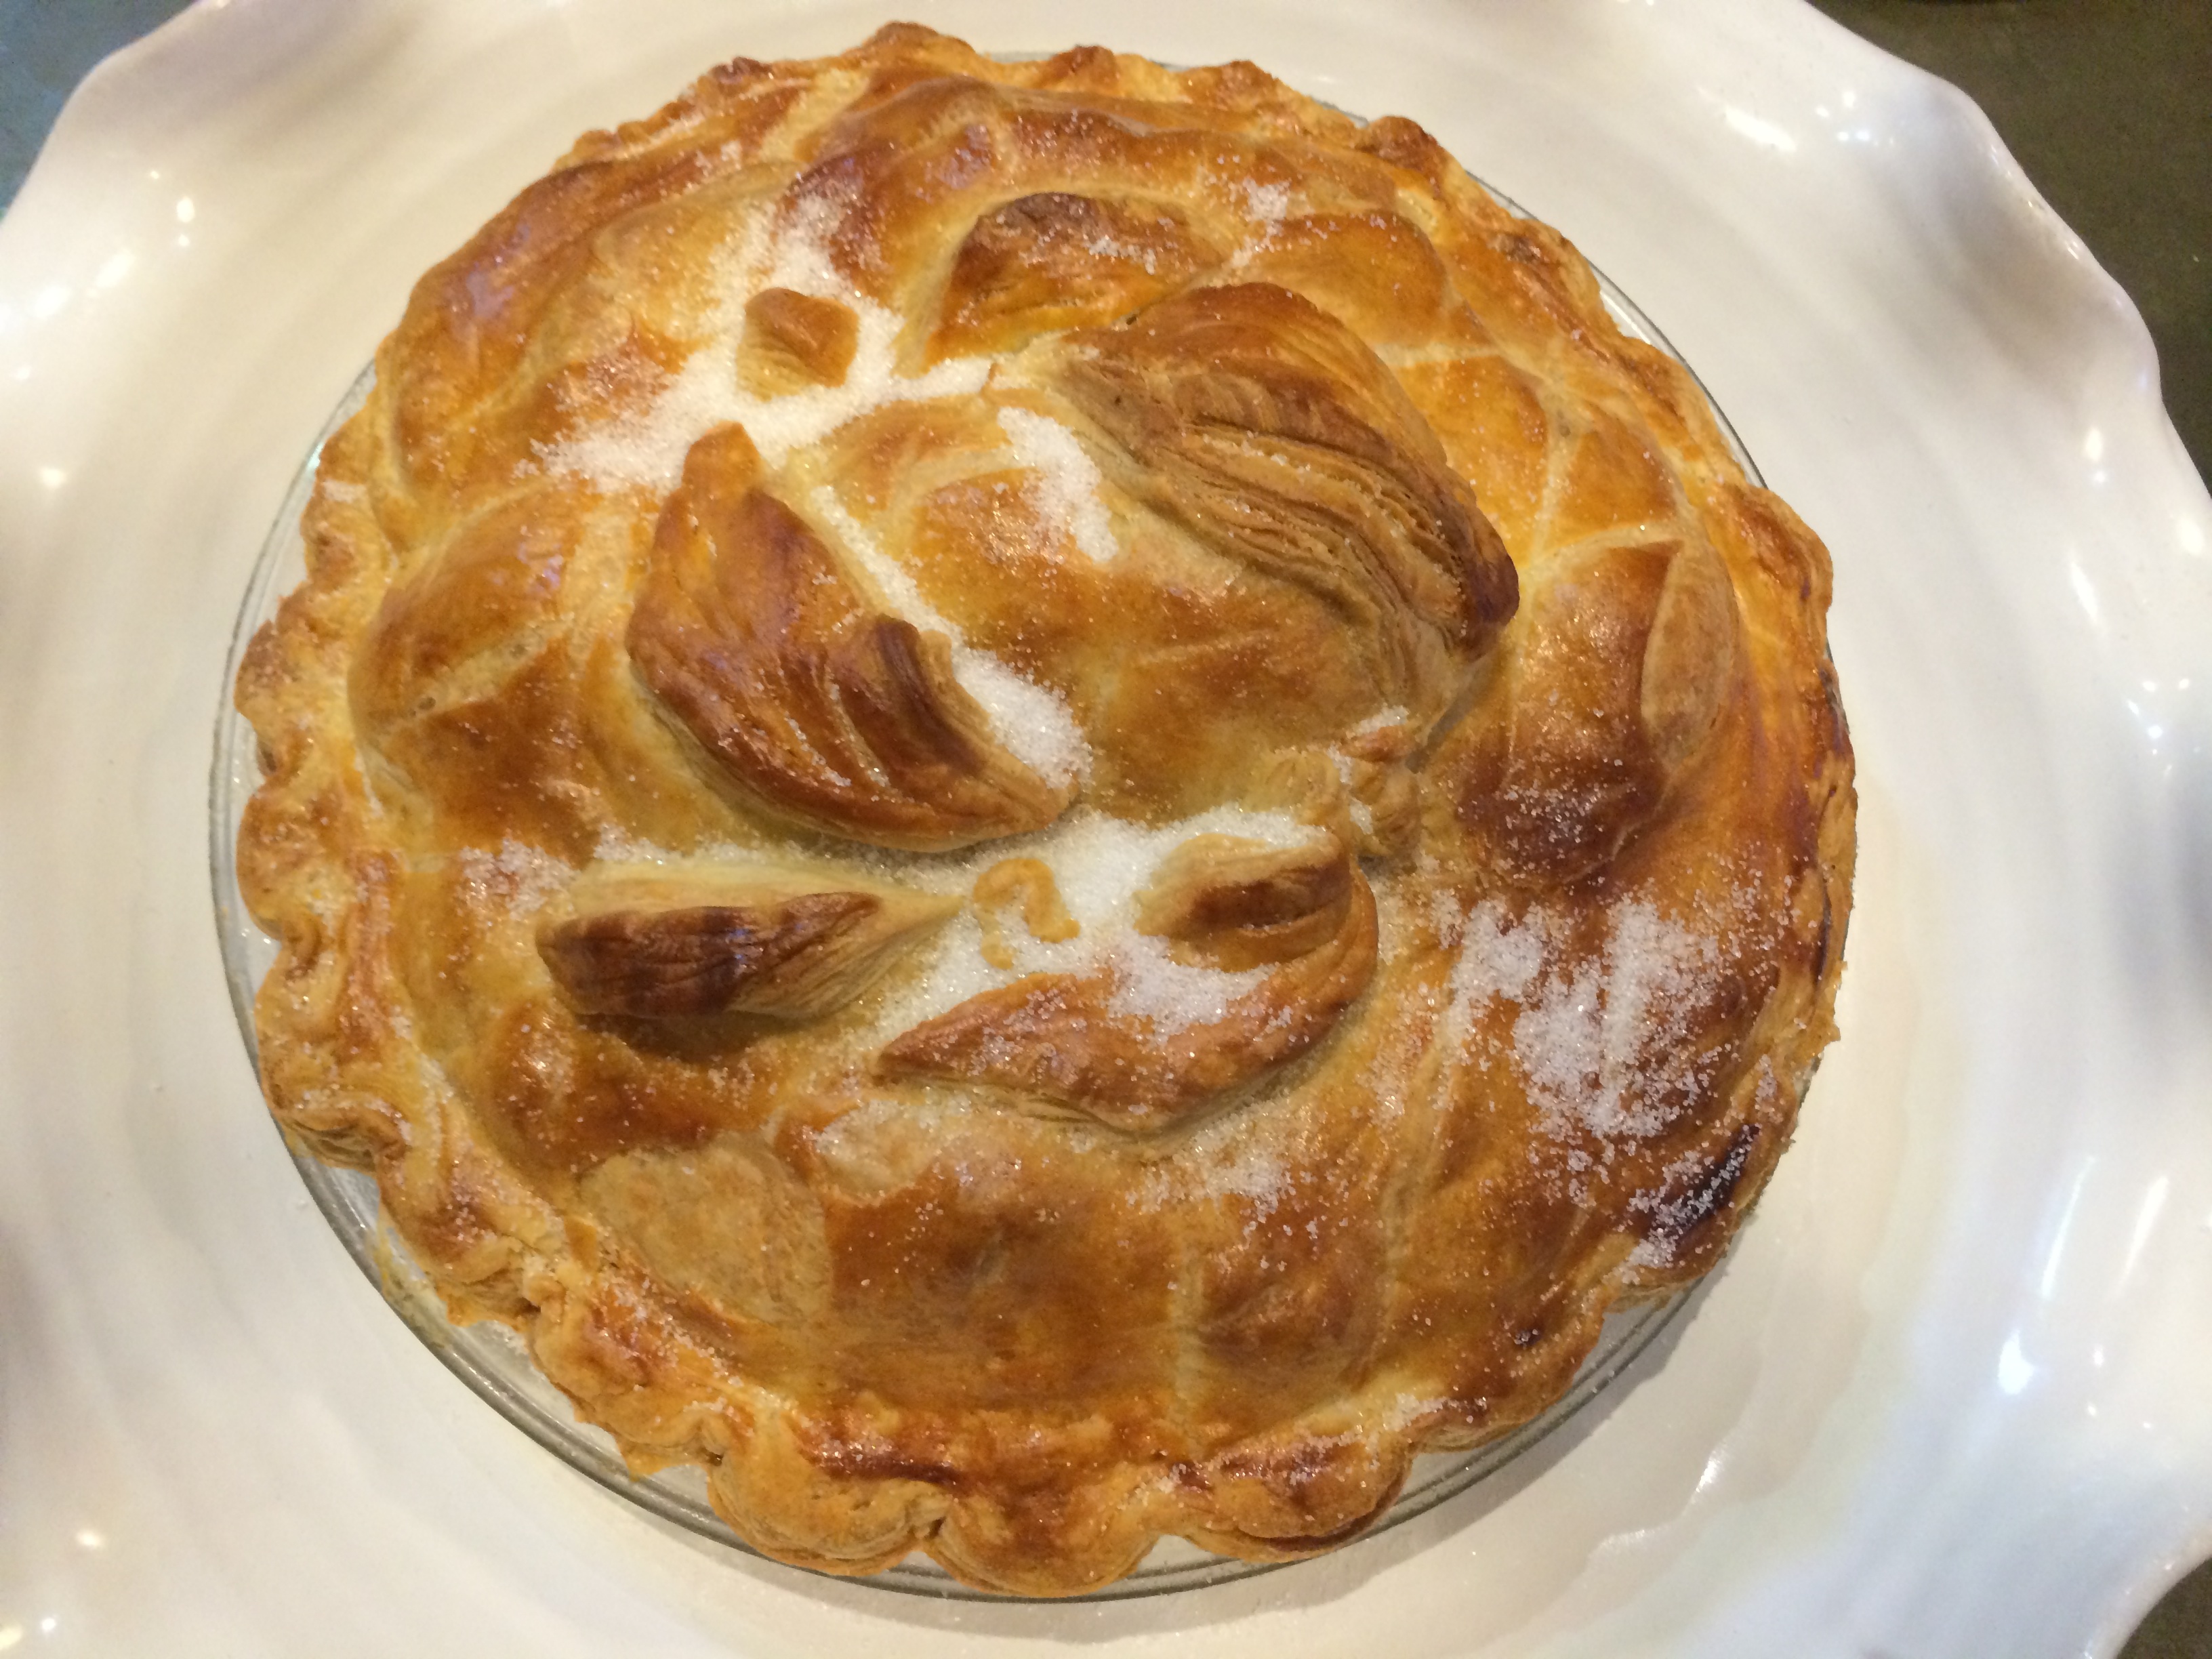
Good quality sausage meat and all butter pastry make all the difference here.

Make large sausage rolls for lunch or a picnic, or mini sausage rolls to serve with drinks. Either way, I promise you they’ll be gone in a flash.

Homemade sausage rolls

Charlotte Pike

Makes 8-10

Ingredients

450g free range sausage meat (do buy pre-seasoned from your butcher)

300g ready rolled all butter puff pastry

1 egg, beaten


Method

Preheat the oven to 180ºC/Gas Mark 4.

On a floured work
surface, unfurl the pastry, and cut lengthways into 
two long, even rectangles. Roll the sausage mixture into sausage shapes with your hands and lay along the centre
 of each rectangle. Fold one side of the
 pastry over, wrapping the filling inside. Press down with your fingers or the edge of a spoon to seal. Cut 
the long rolls into the sizes you want and space them out on a baking tray. Brush with the beaten egg and bake in the preheated oven for 25 minutes or until puffed, golden and cooked through. Serve hot, perhaps with some tomato relish on the side.

Filed Under: Baking, Lunch, Recipes, Uncategorized

Apple pie

3 January 2016 By Charlotte Pike

Freshly baked apple pie

Freshly baked apple pie

An apple pie is one of the most comforting, homely puddings you can ever make, and this is my all-time favourite recipe, adapted from my Hungry Student Baking book.

If you’re not confident making pastry from scratch, this is a great recipe to start with. It’s pretty much foolproof and produces a delicious, rich, buttery pastry. It’s slightly sweet and enriched with egg yolks, which is exactly how I like sweet shortcrust pastry. I hope this recipe will also convert you to making pastry at home, rather than using shop-bought. The difference is astonishing.

This pie is easy and quick to make, as homemade pies go, and it also uses readily-available ingredients – all of which I will generally keep in the kitchen – so this is a lovely last-minute dessert to make to follow a Sunday roast. It’ll really impress your family or guests.

Feel free to add more spice or dried fruit to the mix. Cloves and sultanas all work very well here. You could also use half Bramley apples and half eating apples, such as Cox, Braeburn or Jazz, which would produce a softer texture and taste a little sharper.

Apple pie

Copyright Charlotte Pike

Tip: I use eating apples in my pies, but feel free to use baking apples, such as Bramley apples. Just add an extra 25g/ ¼ cup sugar

Ingredients

For the pastry

  • 300g/2 ½ cups plain flour
  • 150g/2/3 cup butter, cubed and chilled
  • 4 tsp caster sugar
  • 2 egg yolks
  • 8 tsp ice cold water

For the apple filing

  • 650g eating apples, peeled, cored and cut into slices
  • 70g/generous 1/3 cup caster sugar
  • 1 tsp cinnamon
  • 4 tsp water
  • 1 egg, beaten
  • 3 tbsp caster sugar for sprinkling

Method

  • Place the apple slices into a saucepan with the sugar, cinnamon and water and cook for 10 minutes. The apples should have softened a little during this time.Set aside to cool.
  • If you are making pastry, start with this first. If not, skip to stage 9
  • Place the flour and butter into a bowl. Rub together lightly using your fingers until the mixture resembles breadcrumbs
  • Add the sugar and egg yolk and stir into the butter and flour
  • Finally, add the cold water, a little at a time. Take a table knife and use this to stir the mixture to mix the water in.
  • Once the water has been added, bring the pastry together to form a ball. Wrap in cling film and chilli in the fridge for 20 minutes
  • Whilst the pastry is chilling, preheat the oven to 200C/400F/Gas Mark 6. Grease a 24cm pie dish, or a 20cm/ 8” round spring form tin well and set aside
  • When the pastry is chilled, take two large sheets of clingfilm, place half the ball of pastry between the two sheets and roll out to be thin enough to fit the tin – ¼-½ cm thickness is generally about right.
  • Fit the pastry to the tin and press into the edges and round the sides. If you are using the springform tin, build the pastry up to 5 cm up the sides of the tin and cut around the edges neatly. If you have any thin patches, just press any excess pastry over them to cover them up. If you are using the pie dish, leave 1-2cm excess pastry around the rim.
  • Fill the pastry case with the apple mixture.
  • Roll out the second half of the pastry as you did the first half. Place the pastry on top of the pie and cut around the edge of the dish using a knife.
  • Dampen down the edges of both pieces of pastry with water. To do this, take a little cold water in a glass. Dip your finger in the water and then dab it onto the edges of the pastry to moisten. Then, take a fork, and press down around the rim of the pie to seal the pastry.
  • Brush the pie with the beaten egg to glaze, and sprinkle with the caster sugar. Make a couple of cuts in the centre of the pie using a sharp knife
  • Bake the pie for 25-30 minutes until golden brown.
  • Serve with cream, custard or ice cream

Filed Under: Baking, Dinner, Recipes, Uncategorized Tagged With: Apple pie, Apple pie filling, Apple pie from scratch, Apple pie recipe, Apples, Best ever apple pie, Dessert, Easy apple pie recipe, food, Fruit pudding, homemade, Homemade pie, How to cook, How to make apple pie, How to make pastry, How to use up apples, Pastry recipe, pudding, Sweet pastry, Sweet shortcrust, Traditional apple pie, Ultimate apple pie

Gingerbread biscuits

24 December 2015 By Charlotte Pike

DSC_0001

Gingerbread biscuits are one of my favourite Christmas treats. They keep extremely well and are loved by friends and family of all ages. I’ve been tinkering with my gingerbread recipe this year, and this one is, I think, my best ever. My original recipe is still very popular, and requires fewer ingredients, but these are my all-time favourite now. I haven’t bothered with icing biscuits this year, as I just haven’t had the time, but I think these are rather charming cut into Christmas tree shapes and sprinkled with a little icing sugar.

Gingerbread biscuits

Makes 18 large biscuits

Ingredients

250g plain flour, plus a little extra for the work surface

85g light brown soft sugar

4 tsp ground ginger

1 tsp ground nutmeg

1 tsp bicarbonate of soda

Pinch salt

75ml golden syrup

120g butter, softened

1 egg yolk


Method

Start by sifting the flour, sugar, ginger, nutmeg, bicarb. and salt into a large mixing bowl and stir to combine.

Add the syrup, butter and egg yolk and mix well to combine. This is easiest done in a stand mixer. The mixture will form a fairly firm dough when it’s mixed together. Bring the dough into a ball and flatten to form a disc, around 3 cm thick. Cover in cling film and refrigerate for 20-30 minutes.

Meanwhile, preheat the oven to 180C and line two large baking sheets with non-stick baking parchment.

Once the dough is chilled, remove from the fridge and unwrap. Sprinkle the work surface with extra flour and roll out the dough to around 7-9mm thick. Cut out shapes and lay them out on the baking sheet, remembering to leave at least 15mm between each biscuit, as they do expand in the oven.

Once all the shapes have been cut, bake for 7 or 8 minutes for a soft gingerbread texture and 8-10 for a crispier biscuit.


When the biscuits have been cooked, transfer the gingerbread to a wire rack to cool fully. They are rather nice enjoyed warm though. They keep for 7-10 days stored in an airtight container.

Filed Under: Baking, Recipes Tagged With: Baking, Biscuit, Biscuit recipe, Christmas baking, gingerbread recipe

  • « Go to Previous Page
  • Go to page 1
  • Go to page 2
  • Go to page 3
  • Go to page 4
  • Go to page 5
  • Go to Next Page »

Primary Sidebar

Subscribe to my Newsletter

Buy my books

Get in touch

  • E-mail
  • Instagram
  • LinkedIn

Search

Footer

About

  • About
  • Contact
  • Privacy Policy
  • Cookies

Copyright © 2025 Charlotte Pike.
Website by Callia Web

×

Log In

Forgot Password?

Not registered yet? Create an Account